Limited Time Offer 👉 Get 58% off Divi AI with the Divi Pro.
How to Use Divi Pixel – Step-by-Step Guide.
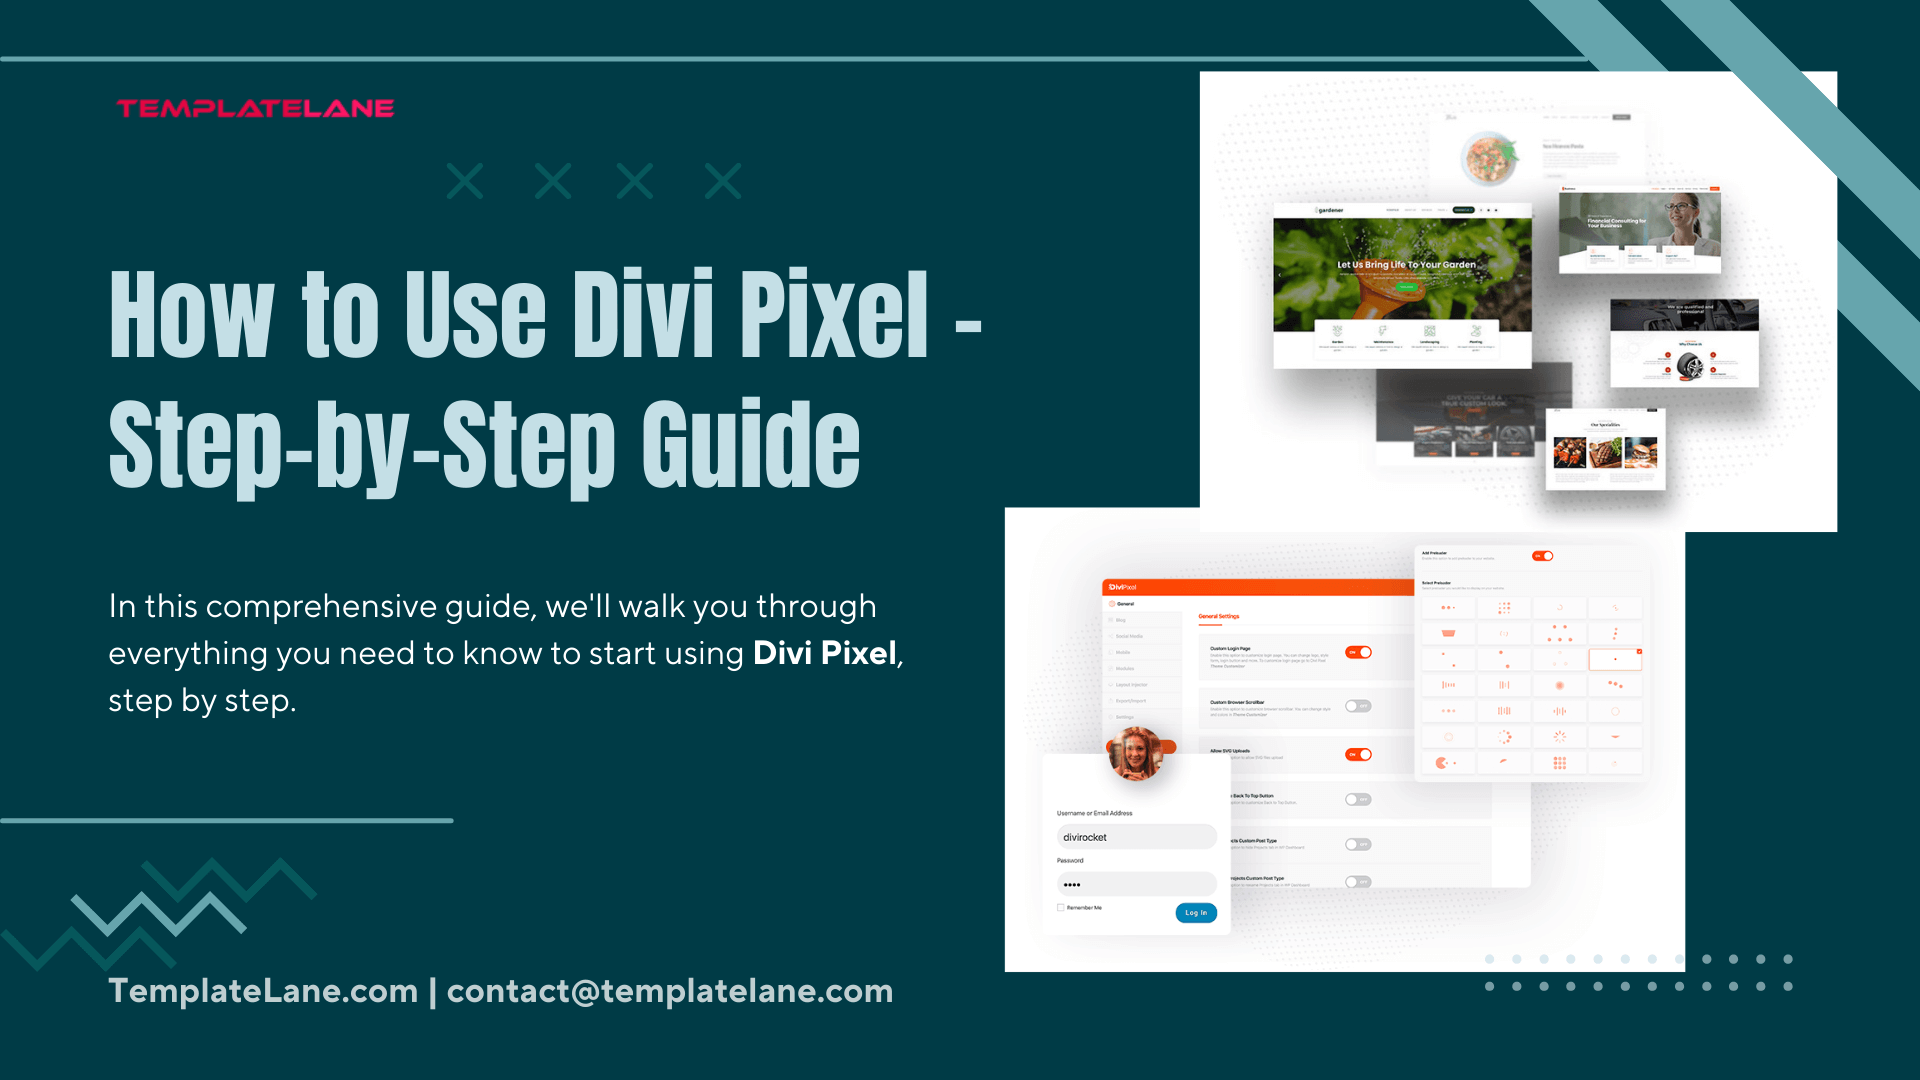
If you’re a WordPress user working with the Divi Theme, chances are you’ve heard about Divi Pixel — a powerful plugin designed to extend Divi’s capabilities without requiring you to write a single line of code. Whether you’re a beginner or an experienced Divi user, Divi Pixel helps you build beautiful, feature-rich websites faster and more efficiently.
In this comprehensive guide, we’ll walk you through everything you need to know “How to Use Divi Pixel” – step by step. From installation to customization, you’ll learn how to unleash the full potential of this incredible tool.
Let’s get started!
What is Divi Pixel?
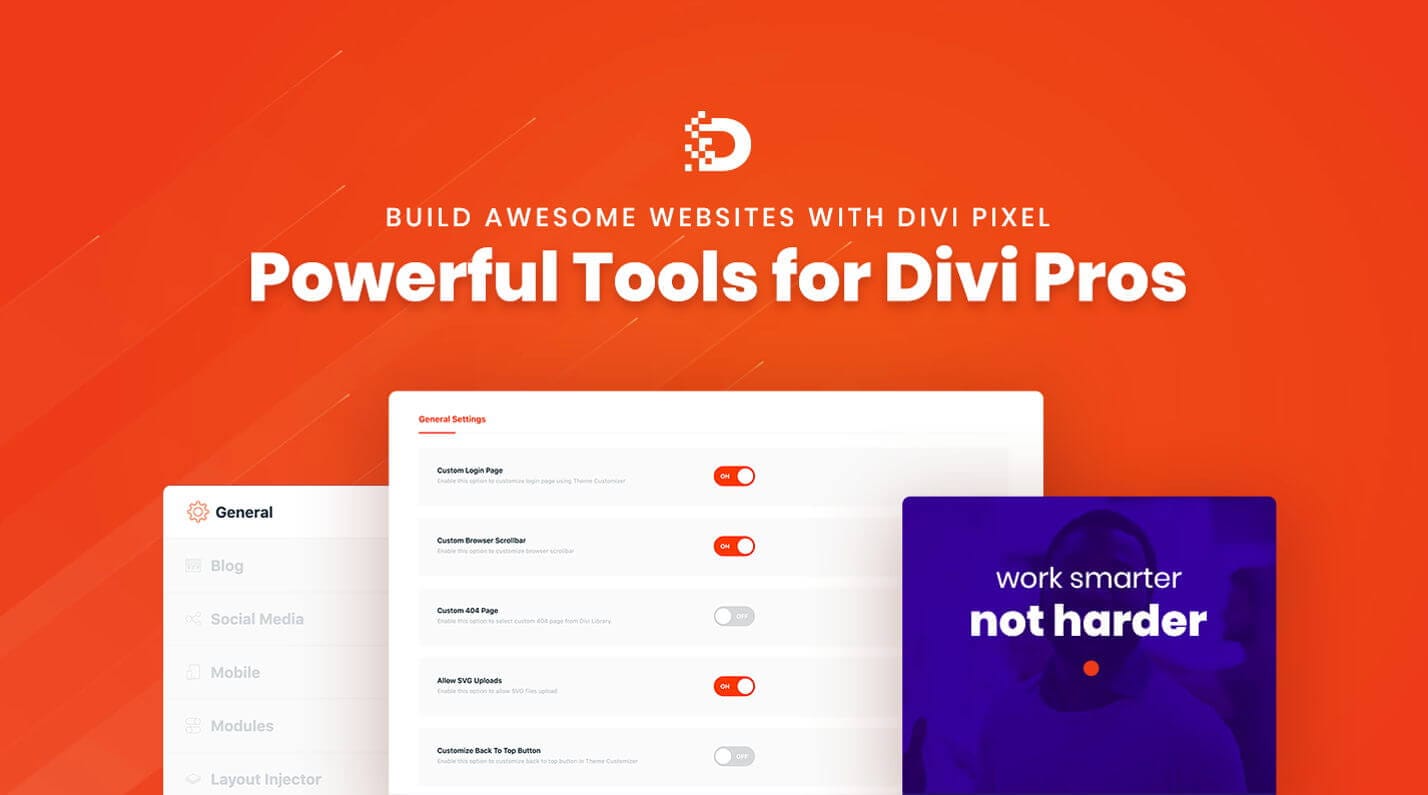
Divi Pixel is a premium plugin built specifically for the Divi Theme by Elegant Themes. It is one of the best Divi Plugins for your Divi Website. It enhances your website with more than 50 powerful modules, advanced customization features, and intuitive design tools.
Key features include:
- White-label branding,
- Custom modules like Flip Box, Typing Text, Image Hotspot, etc,
- Advanced theme customizer options,
- Pre-built layouts and sections,
- Custom CSS and JavaScript areas.
Features of Divi Pixel:
Divi Pixel enhances the Divi Theme with a suite of powerful modules and customization options, enabling users to create dynamic and visually appealing websites without coding.
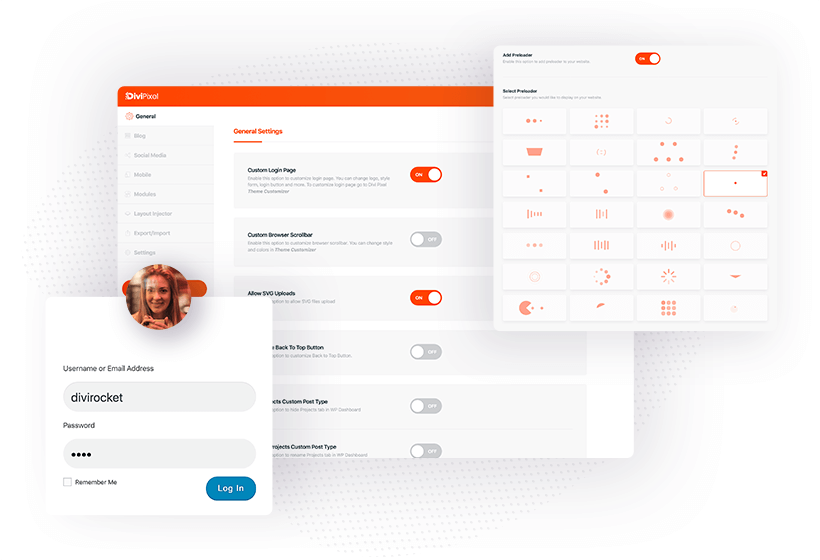
Notable features include:
- 50+ Custom Modules: Modules such as Flip Box, Lottie Animation, Image Hotspot, Carousel Slider, Blog Slider, Masonry Gallery, Hover Box, Floating Image, Timeline, Star Rating, SVG Animator, Typing Text, Before/After Slider, Accordion Image, Reading Progress Bar, Price List, List Module, Button Grid, Content Toggle, Info Circle, Image Showcase, Testimonial Carousel, Animated Gradient Text, and more.
- Advanced Theme Customizer Options: Enhancements like sticky headers, scroll-to-top buttons, preloaders, custom 404 pages, and login page customization.
- Pre-built Layouts and Sections: Access to professionally designed layout packs for various niches, facilitating quick website setup.
- Custom CSS and JavaScript Areas: Easily add custom code snippets to fine-tune website functionality and appearance.
- White-label Branding: Rebrand the plugin for client projects, presenting it as your own tool.
- Performance Optimization: Options to enable or disable modules to keep the website lightweight and fast.
Divi Pixel Pricing:
- Price: $169 (one-time payment)
- Usage: Unlimited websites
- License: GPL
- Support & Updates: 1 year included
- Money-Back Guarantee: 30 days
- Sales: Over 1,800 purchases
Additionally, Divi VIP members receive a 10% discount on Divi Marketplace purchases, which can be combined with active sale discounts.
User Ratings and Reviews:
Divi Pixel has garnered positive feedback from its user base:
- TrustPilot: 4.9 out of 5
- Elegant Themes Marketplace: 4.5 out of 5
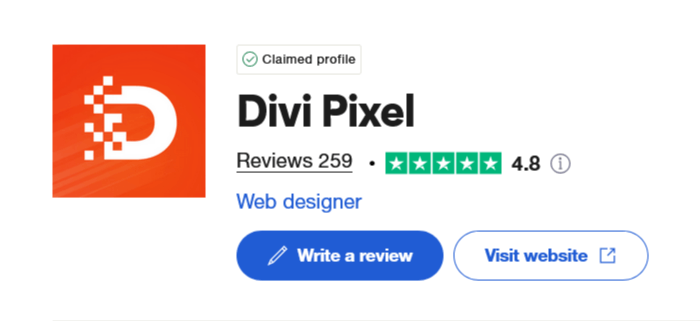
Users have praised Divi Pixel for its extensive module library, ease of use, and the ability to create professional-looking websites efficiently.
How to Use Divi Pixel:
Step-by-step instructions for purchasing, uploading, installing, and activating as well as how to use the Divi Pixel on your WordPress site.
Step 1: Purchase and Download Divi Pixel
To Use Divi Pixel, you’ll need a valid license for Divi Pixel.
- Go to Divi Pixel.
- Choose a pricing plan that suits your needs (1 Site, 3 Sites, or Unlimited).
- Create an account and complete your purchase.
- Download the plugin ZIP file from your account dashboard.
Step 2: Install and Activate the Plugin
Once you’ve downloaded the plugin, follow these steps to use Divi Pixel:
- Log in to your WordPress dashboard.
- Navigate to
Plugins > Add New > Upload Plugin. - Upload the
divi-pixel.zipfile. - Click Install Now and then Activate the plugin.
After activation, you’ll notice a new Divi Pixel menu in your WordPress admin panel.
Step 3: Enter Your License Key
To unlock all features and receive updates:
- Go to
Divi Pixel > Settings. - Enter your license key (found in your Divi Marketplace account).
- Click Activate License.
Now the plugin is fully functional and ready to use the Divi Pixel.
Step 4: Configure Global Settings
Divi Pixel adds several customization options to the Theme Customizer and Theme Options.
- Key Customizer Features:
- Sticky headers,
- Scroll-to-top button,
- Preloader animation,
- Custom 404 pages,
- Login page customization.
- Go to
Appearance > Customize > Divi Pixelto explore and enable the features you want.
Step 5: Use Divi Pixel Modules
Divi Pixel comes with more than 50 custom modules that can be used inside the Divi Builder.
- How to Use Divi Pixel:
- Open a page or post with the Divi Builder.
- Click
+ Add New Module. - Look for modules with the Divi Pixel icon (e.g., Lottie Animation, Hover Box, Floating Image).
- Add your chosen module and customize it using the intuitive Divi interface.
Each module has extensive settings, allowing you to control animations, responsiveness, styling, and interactions.
Step 6: Import Pre-made Layouts
Divi Pixel also offers a library of professionally designed page layouts.
- To Use Divi Pixel:
- Go to
Divi Pixel > Layouts. - Choose a layout pack that fits your niche (e.g., Business, Agency, Portfolio).
- Download the JSON file.
- Open the Divi Library or any page and use the Portability icon to import.
- Apply the layout and start customizing it for your brand.
- Go to
These layouts save hours of design work and are fully editable in the Divi Builder.
Step 7: Explore Theme Builder Enhancements
Divi Pixel works seamlessly with the Divi Theme Builder, allowing you to customize headers, footers, blog templates, and more.
- For example, you can:
- Use Divi Pixel modules in global templates.
- Add animations and interactive elements to your headers and footers.
- Enhance blog post layouts with modules like Reading Progress Bar or Blog Slider.
Step 8: Customize Login Page & 404 Page
Make your website feel more professional with branded login and 404 pages.
- For Login Page:
- Go to
Divi Pixel > Login Customizer. - Add your logo, change the background, tweak form styles.
- Go to
- For 404 Page:
- Go to
Divi Pixel > Theme Customizer > 404 Page. - Choose to use a custom Divi layout or design from scratch.
- Go to
Step 9: Optimize Performance
Divi Pixel includes performance tweaks to keep your site fast.
- Enable/Disable modules you don’t use to reduce load.
- Use image optimization plugins alongside Divi Pixel for better performance.
- Go to
Divi Pixel > Settings > Modulesto deactivate any unused features.
Step 10: White Label the Plugin (Optional)
For agencies or freelancers who want to brand the plugin as their own:
- Go to
Divi Pixel > White Label. - Enter your brand name, description, and plugin author info.
- Save changes – now your clients won’t see “Divi Pixel” anywhere in the dashboard.
Conclusion
If you’re looking to elevate your Divi-powered website with advanced features, sleek animations, and modern design modules — all without touching a line of code — Divi Pixel is the toolkit you’ve been waiting for. This powerful plugin doesn’t just add functionality; it transforms the way you build and design within Divi.
Learning how to use Divi Pixel effectively gives you the freedom to create standout websites that look custom-built and perform flawlessly. From pre-designed layouts to dynamic content modules and performance optimization, it’s everything you need in one seamless package.
To use the Divi Pixel is to supercharge your design workflow and unlock creative possibilities that were once only possible with custom development. Whether you’re building for clients or crafting your own site, Divi Pixel gives you the power to do more—with less time and effort.
So go ahead—install it, explore it, and start creating websites that wow. Your next-level Divi experience starts now.

